Cleaning your toilet flush system (tank + handle + internal parts) can make it look and work almost like new—without damaging anything. Here’s a complete, safe method most people don’t fully do.
🚽 How to Clean Your Toilet Flush (Deep Clean Guide)
🧾 What you’ll need
- White vinegar
- Baking soda
- Mild detergent
- Old toothbrush or small brush
- Cloth or sponge
- Gloves
🪣 Step 1: Clean the outside (handle & lid)
This is the part you touch most.
- Dip cloth in warm soapy water
- Wipe:
- Flush handle/button
- Tank lid
- Top edges
👉 For stains or germs:
- Use vinegar or disinfectant
🔧 Step 2: Open the tank
- Lift the lid carefully and place it aside
Inside you’ll see:
- Flapper
- Fill valve
- Water line
🧼 Step 3: Clean inside the tank
🧴 Vinegar soak method (best)
- Pour 2–3 cups white vinegar into the tank
- Let it sit for 20–30 minutes
👉 This removes:
- Mineral buildup
- Odors
- Light stains
🪥 Scrub gently
- Use a soft brush or toothbrush
- Clean:
- Sides of tank
- Around flapper
- Fill valve area
⚠️ Don’t scrub too hard—you can damage parts.
🚿 Step 4: Flush to rinse
- Flush once or twice to clear loosened debris
✨ Step 5: Clean the rim & jets (important)
Even if the tank is clean, the flush can still be weak.
- Pour vinegar into the toilet bowl rim holes
- Let sit 15–20 minutes
- Scrub under the rim
👉 This improves:
- Water flow
- Flush strength
🌟 Step 6: Remove tough stains (optional)
For heavy buildup:
- Sprinkle baking soda inside tank
- Add vinegar (it will fizz)
- Lightly scrub
⚠️ Important mistakes to avoid
- ❌ Don’t use bleach inside the tank → damages rubber parts
- ❌ Don’t mix bleach + vinegar → toxic fumes
- ❌ Don’t use hard brushes → can scratch
📅 How often to clean
- Light clean: every 2–4 weeks
- Deep clean (tank): every 2–3 months
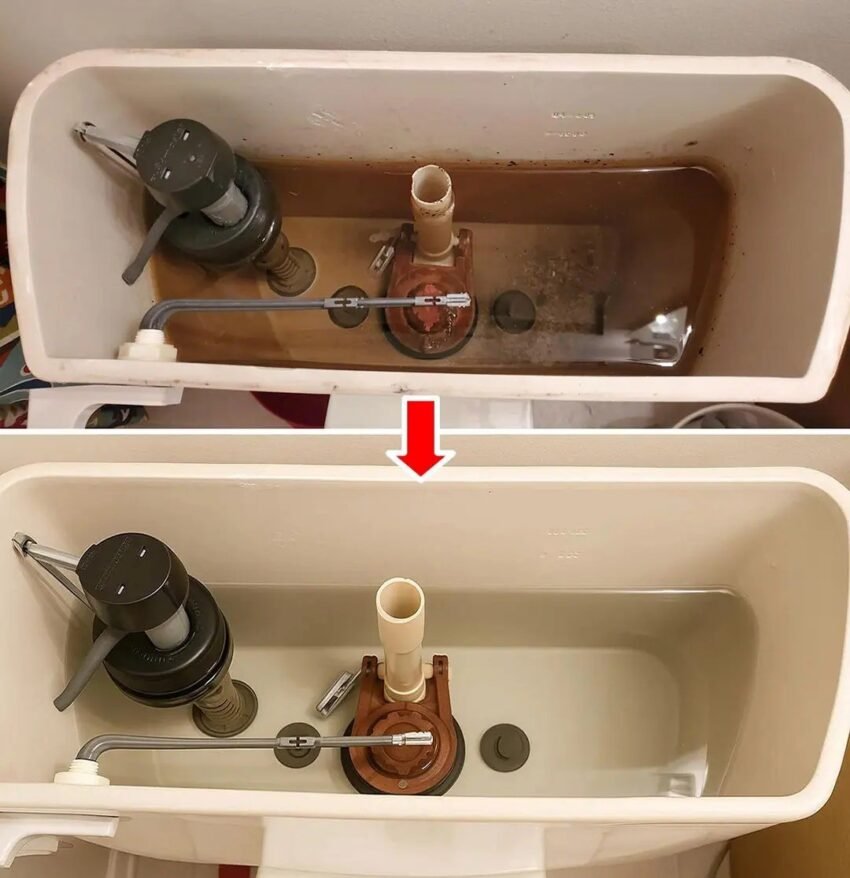
🧾 Final result
After proper cleaning:
- ✔ Stronger flush
- ✔ No odor
- ✔ Cleaner-looking tank and handle
- ✔ Longer lifespan of parts
If you want, I can also show:
- How to fix a weak or slow flush permanently
- Or how to remove hard water stains that won’t come off 🚿
